Get started
Quickstart
Create a bin with a schema, publish config, promote it to production and read it from an app, from the dashboard or the CLI.
This takes a few minutes. Follow it in the dashboard (nothing to install) or with the CLI in a terminal; both end with the same bin.
1. Sign in and create an organization
Sign up with GitHub, Google or your email, then create an organization. Its slug (acme for "Acme") is part of every read URL and never changes.
2. Create a bin, publish and promote
A bin is one JSON document with three environments: development, staging and production. The examples use this schema, which is optional but is what stops a typo from reaching your users:
{
  "type": "object",
  "properties": {
    "features": { "type": "object", "additionalProperties": { "type": "boolean" } },
    "limits": {
      "type": "object",
      "properties": { "max_upload_mb": { "type": "integer", "minimum": 1 } },
      "required": ["max_upload_mb"]
    }
  },
  "required": ["features", "limits"]
}
and this config:
{ "features": { "checkout_v2": true }, "limits": { "max_upload_mb": 25 } }Create the bin
Open Bins → Create bin. Enter mobile-flags as the Bin ID, paste schema.json into JSON Schema, and click Create bin.
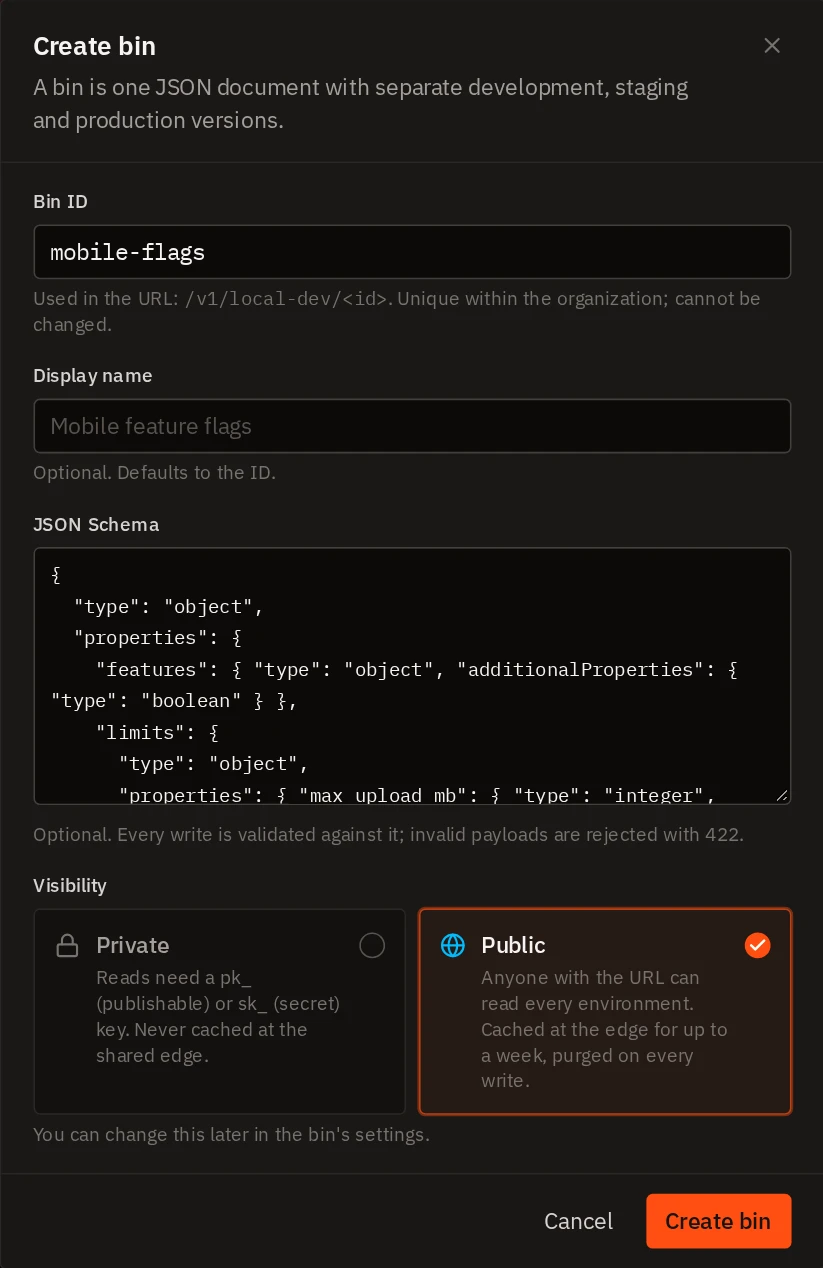
On Free, bins are public: anyone with the URL can read them, and the edge caches them. On Pro you can pick Private and read the bin with a publishable key instead.
Publish to development
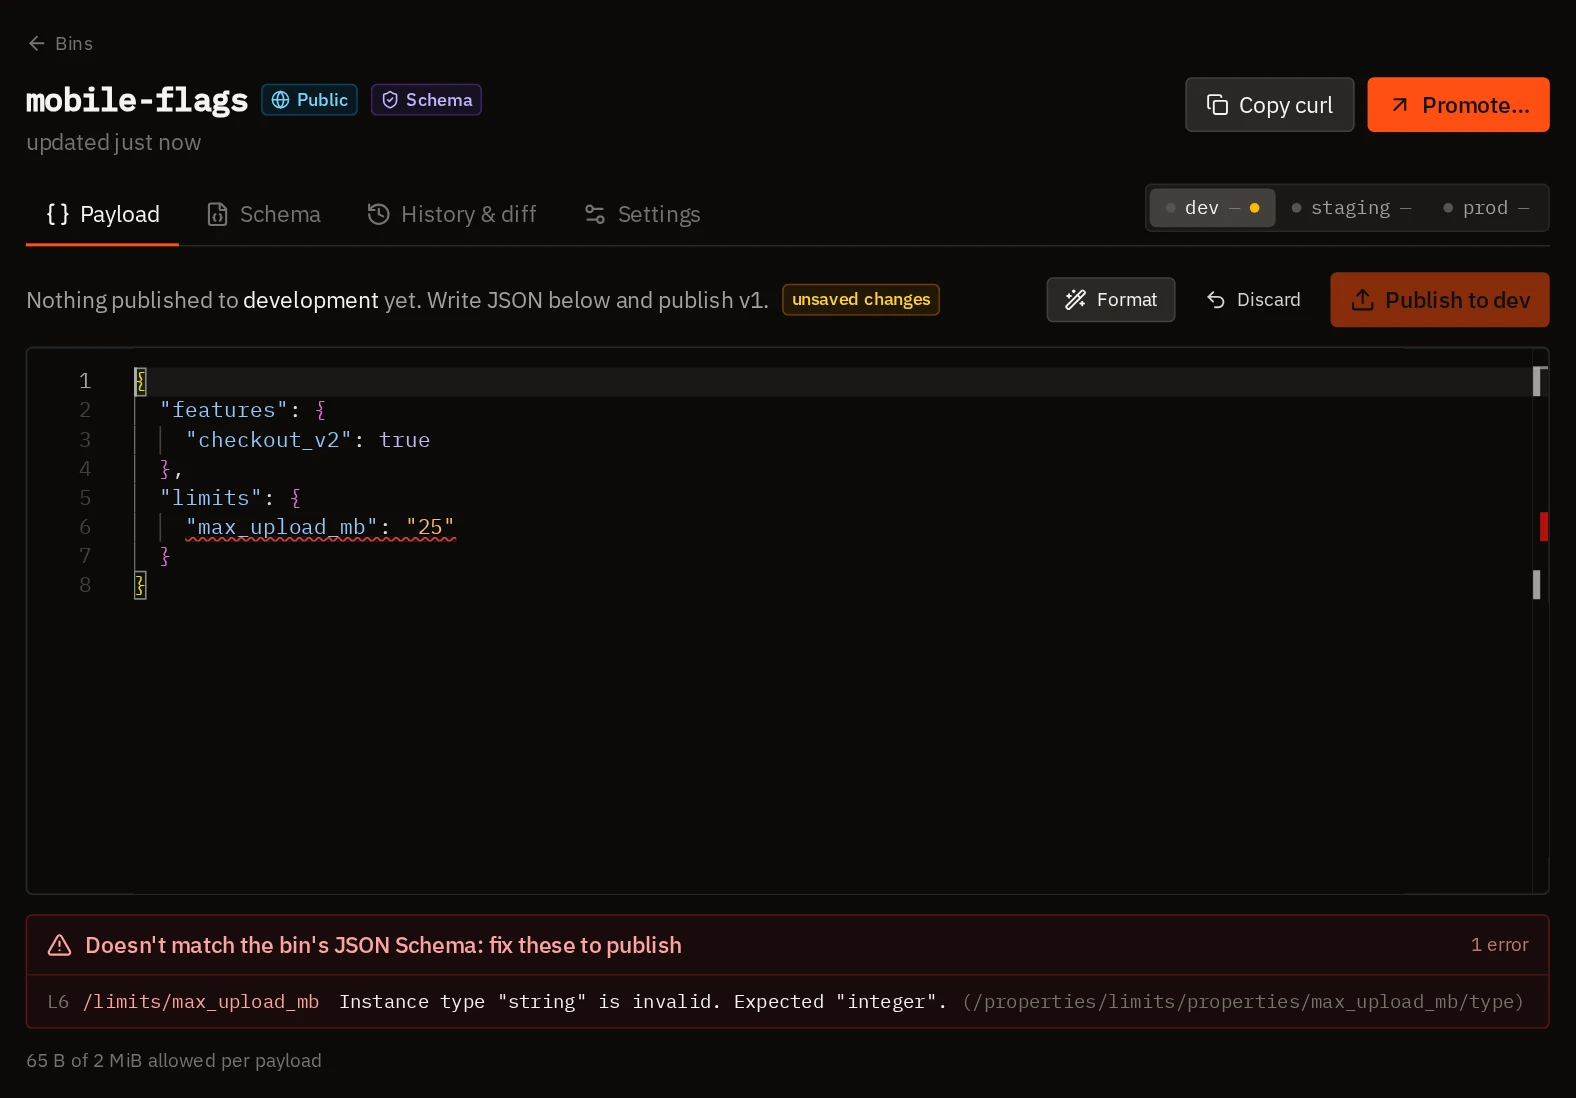
The bin opens on Payload, in dev. To see the schema at work, paste flags.json into the editor with 25 changed to "25" (a string): the error is listed under the editor with its line, and Publish to dev stays disabled. Change it back to 25 and click Publish to dev (or press Ctrl/⌘+S).
Promote to staging, then production
Click Promote… in the bin's header. The dialog opens on dev → staging and shows the diff; click Promote dev → staging.
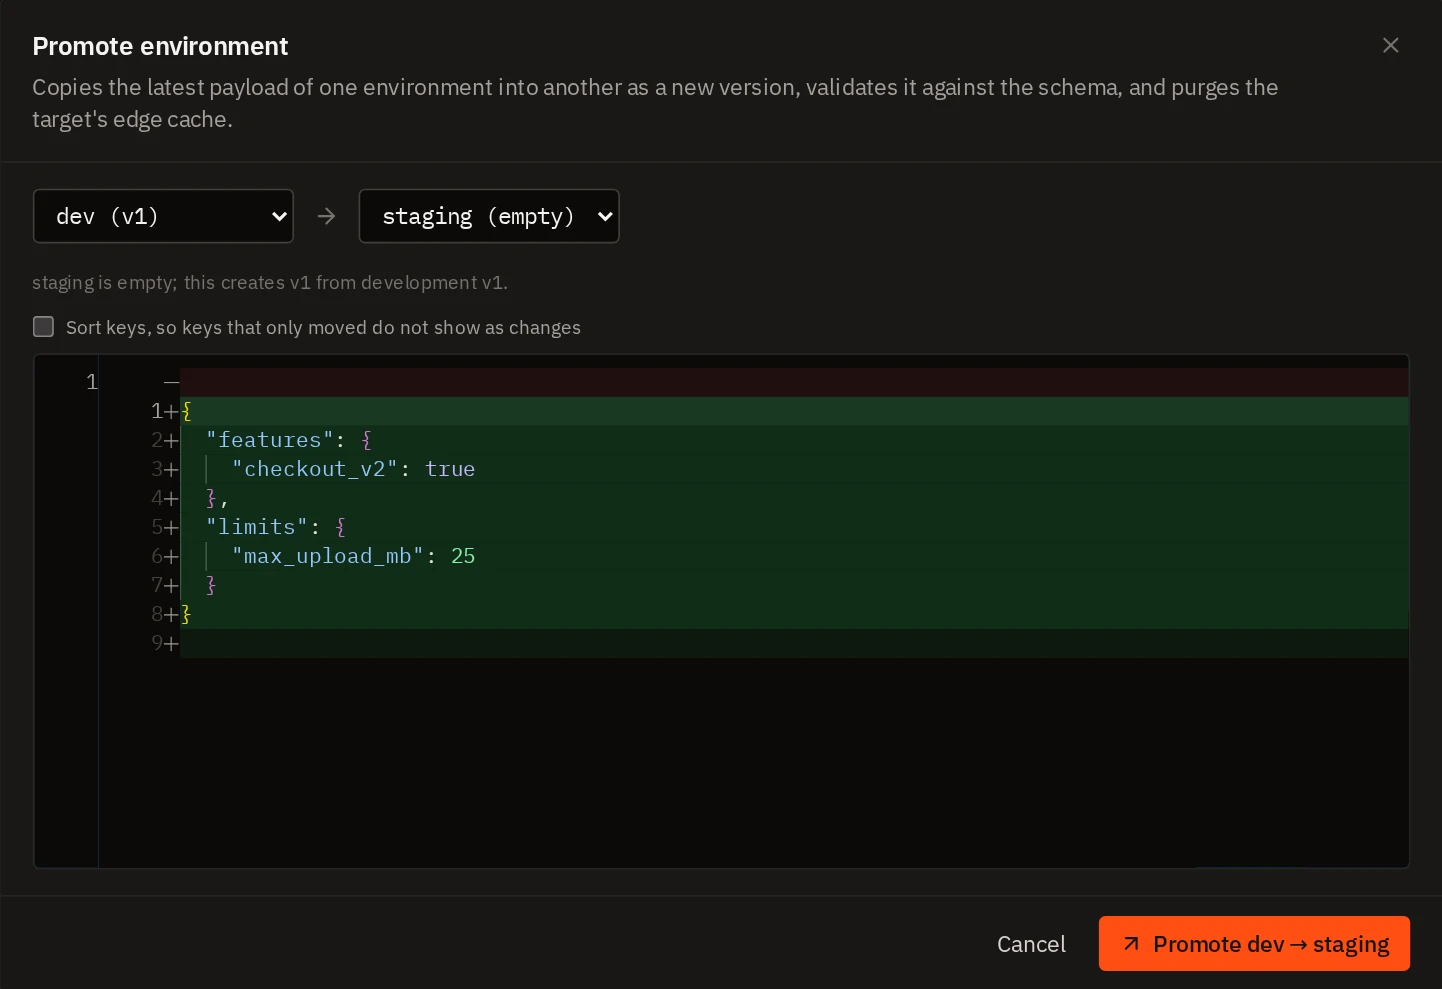
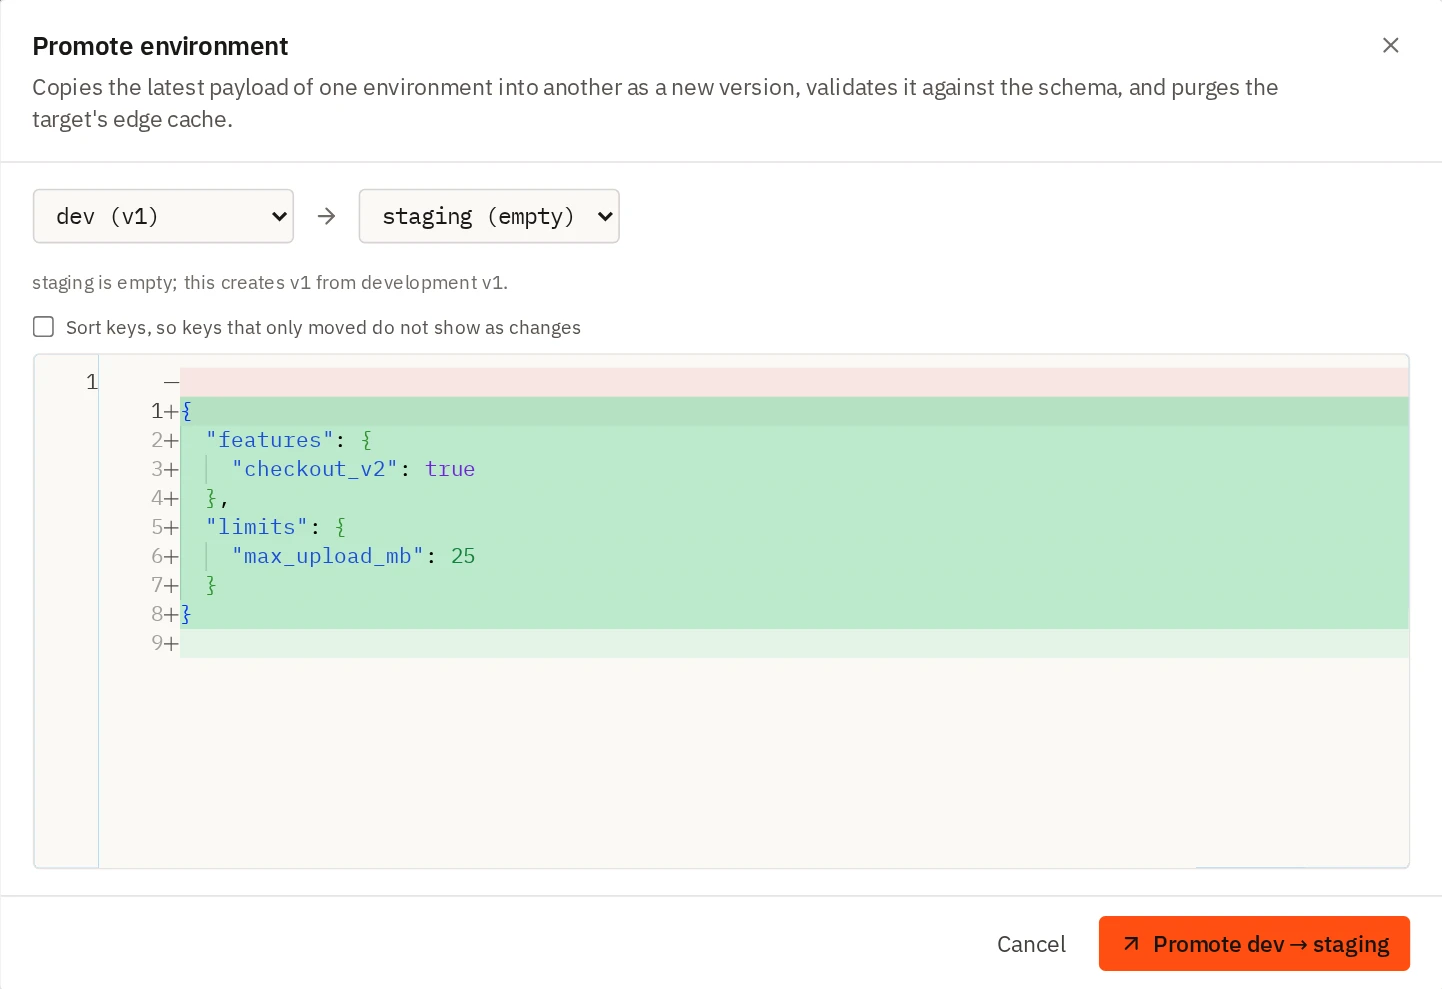
Click Promote… again: it now opens on staging → prod. Promote that too.
Promoting straight from dev to prod works too, but the dialog warns that it skips staging.
Check it
Click Copy curl in the bin's header and run it in a terminal, or read on.
brew install --cask hotcfg/tap/hotcfg
# or: go install github.com/hotcfg/cli/cmd/hotcfg@latest
Binaries for Linux, macOS and Windows, with checksums, are in Install and set up.
In the dashboard, open Settings → API keys → Generate API key and create a secret key (sk_live_…). Then:
hotcfg login # paste the secret key; it's saved in ~/.config/hotcfg/credentialshotcfg bins create mobile-flags --schema schema.json --public--public lets anyone read the bin without a key, and lets the edge cache it. On Pro you can leave it out for config that must stay private, and read it with a publishable key instead; on Free, bins are public, so bins create without --public answers 403 private_bins_require_pro.
Publish to staging, then promote
hotcfg push flags.json --bin mobile-flags --env staging
hotcfg get mobile-flags --env staging                     # check it
hotcfg promote mobile-flags --from staging --to production
Had max_upload_mb been "25" (a string), the push would have been refused with the line and the rule it broke.
curl https://api.hotcfg.run/v1/acme/mobile-flagsIn an app, use the recommended fetch code: it times out after two seconds and falls back to the last good copy, then to defaults shipped with the app.
Next
- Something went wrong? Roll back from the bin's History & diff tab, or
hotcfg rollback mobile-flags --env production --to 1. See Staging, promote and rollback. - Push from CI with a key that can only write to staging.
Last updated 16 November 2026